NUWA Robot SDK Japanese Tutorial
ver 1.0
NUWA SDK
- What is NUWA Robot SDK?
- Development environment and related materials
- Role of this document
- Q & A
What is NUWA Robot SDK?
"NUWA Robot SDK" is an application development kit for robots made by NUWA Robotics. It is based on Android P, and it is possible to create apps using Android Studio.
Development environment and related materials
The NUWA Robot SDK supports the following development environments:
- Android Studio Archive
- Suggest version : Android Studio 4.1 October 12, 2020 (android-studio-ide-201.6858069.zip)
The latest information is available on the official website.
- [Official homepage (English)] https://www.nuwarobotics.com
In addition to the Android Archive (aar) that includes the NUWA Robot API, sample code, tutorials, etc. are provided.
- [NUWA Robot SDK Manual] Manual Website(English)
- [NUWA Robot SDK aar]
Download newest from Nuwarobotics Developer Website - [NUWA Robot SDK JavaDoc] NUWA SDK JavaDoc
- [NUWA Robot SDK Example for Android]
Nuwarobotics Github - [Kebbi Motion list]
Nuwarobotics Developer - Available Motion List
- This document is a English tutorial (original) for beginners. The explanation is based on the NUWA Robot SDK Manual 1.1. Please refer to the official documentation for the latest information.
- [NUWA Robot SDK Manual] Manual Website(English)
Role of this document
This document explains how to use the NUWA Robot SDK easily. For an overview of the NUWA Robot SDK, see the NUWA Robot SDK Manual, and for API details, see the NUWA Robot SDK Javadoc.
About the development equipment of this document
Kebbi's apps can be developed on both Windows and Mac. This document is developed on Mac.
Preparation of development environment
Android Studio is required for development. Please prepare the latest version of Android Studio.
- This document uses the latest version 3.5.2 at the time of writing.
Put Kebbi in developer mode
First, set Kebbi to developer mode by following the steps below.
Open the Kebbi settings screen and select "About Kebbi" at the bottom.
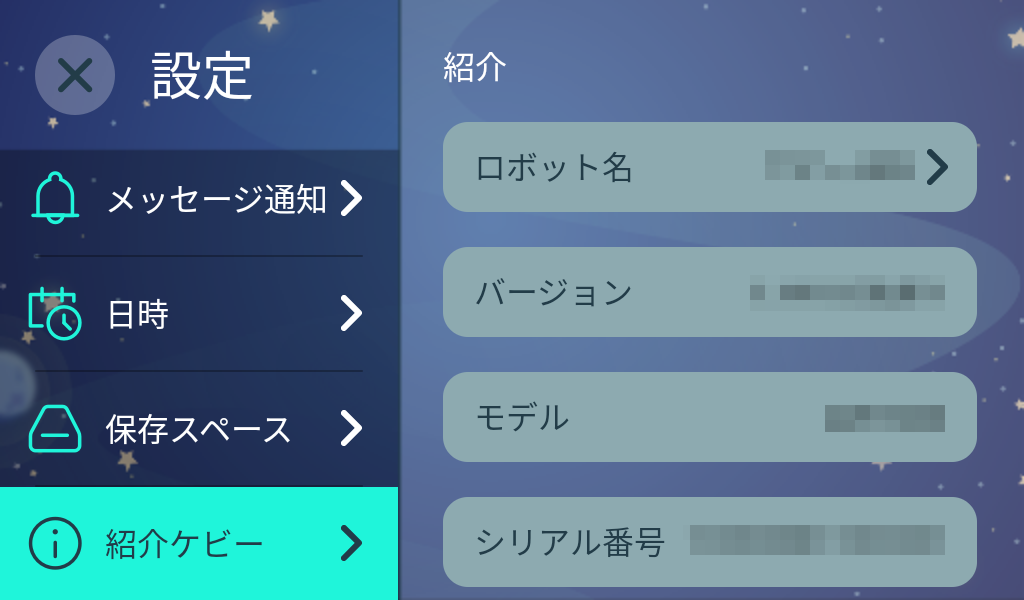
If you hit "About Kebbi" in the menu 10 times in a row, the settings for developers will be added.
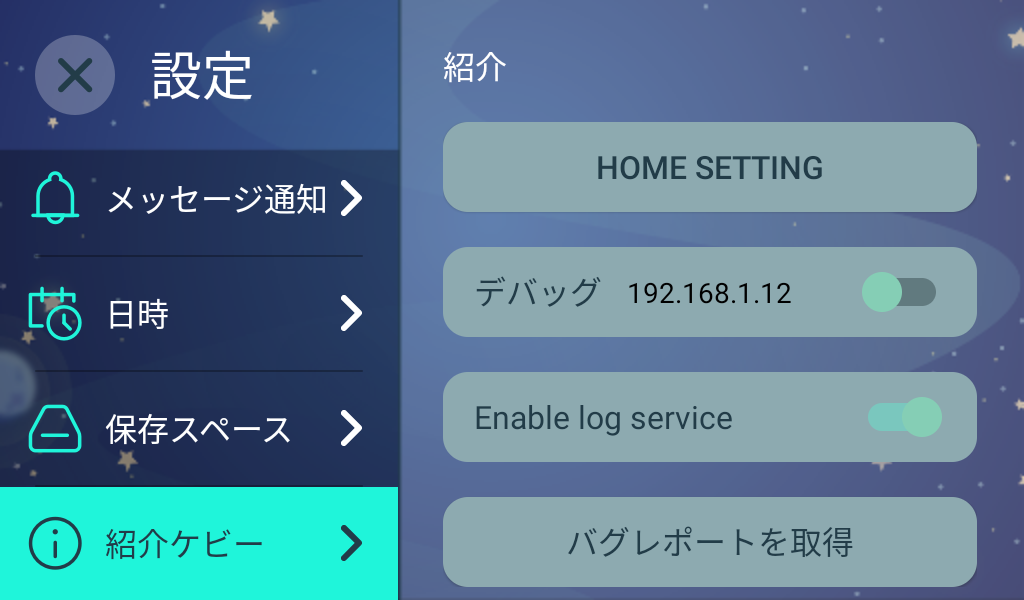
Press "HOME SETTING" to move to the Android setting screen.
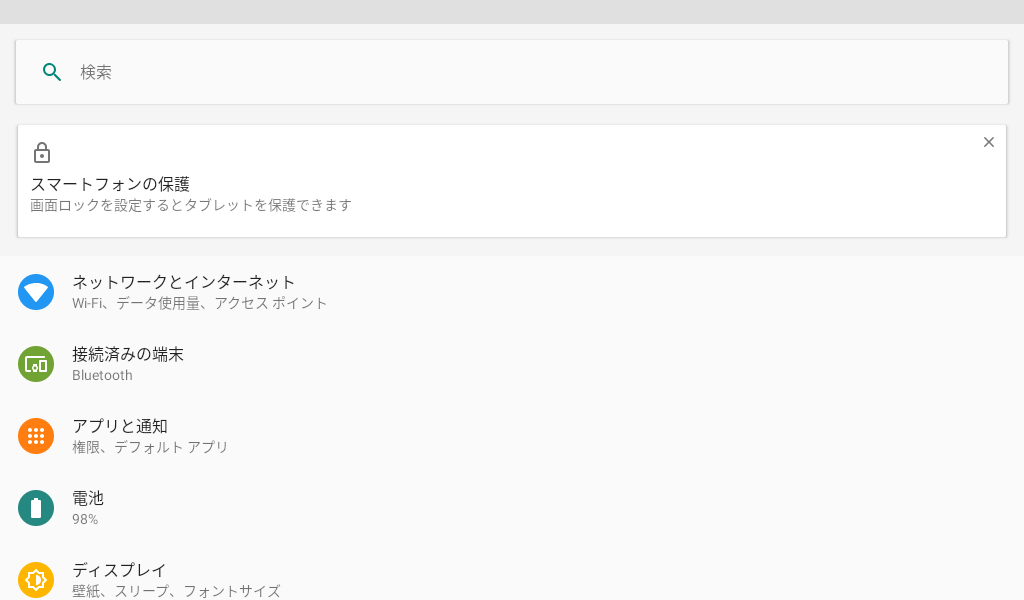
From this screen, look for "build settings" in "device information" and hit "build number" repeatedly. "Developer options" is added to "Advanced" of "System".
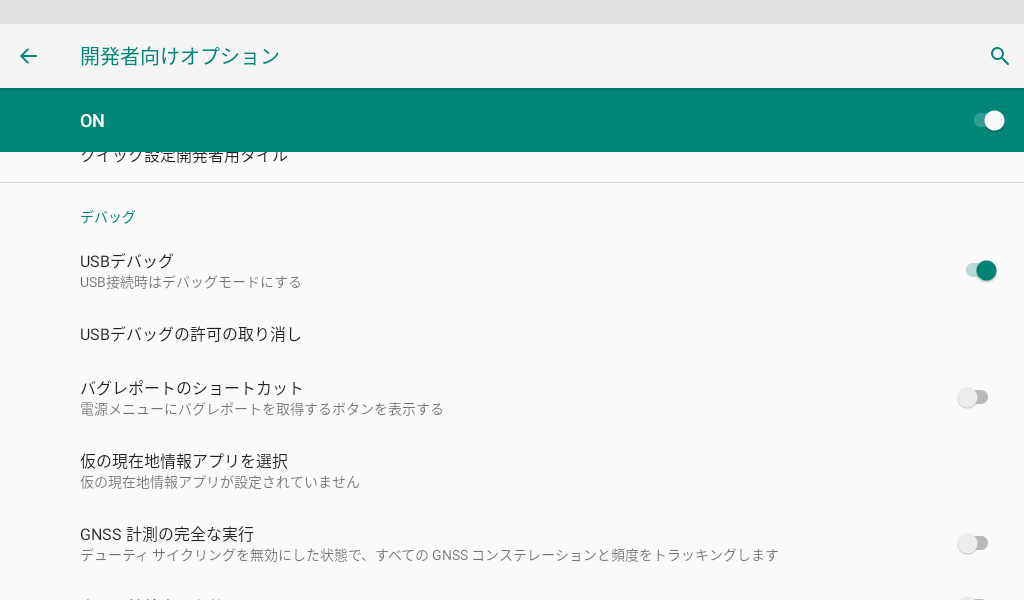
Turn on the developer options to enable USB debugging. You can now connect your computer to Kebbi.
Kebbi and PC connection
Connect Kebbi with a USB cable.
In my environment, I did not recognize that it was a USB-C cable I had (USB-C on both ends), so I changed the conversion adapter to the USB-C cable (USB-C and USB-2.0) that came with Kebbi. When I put it on, it was recognized normally.
The password of adb is
!Q@W#E$R
Create an Android app
Now let's create a simple app for Kebbi.
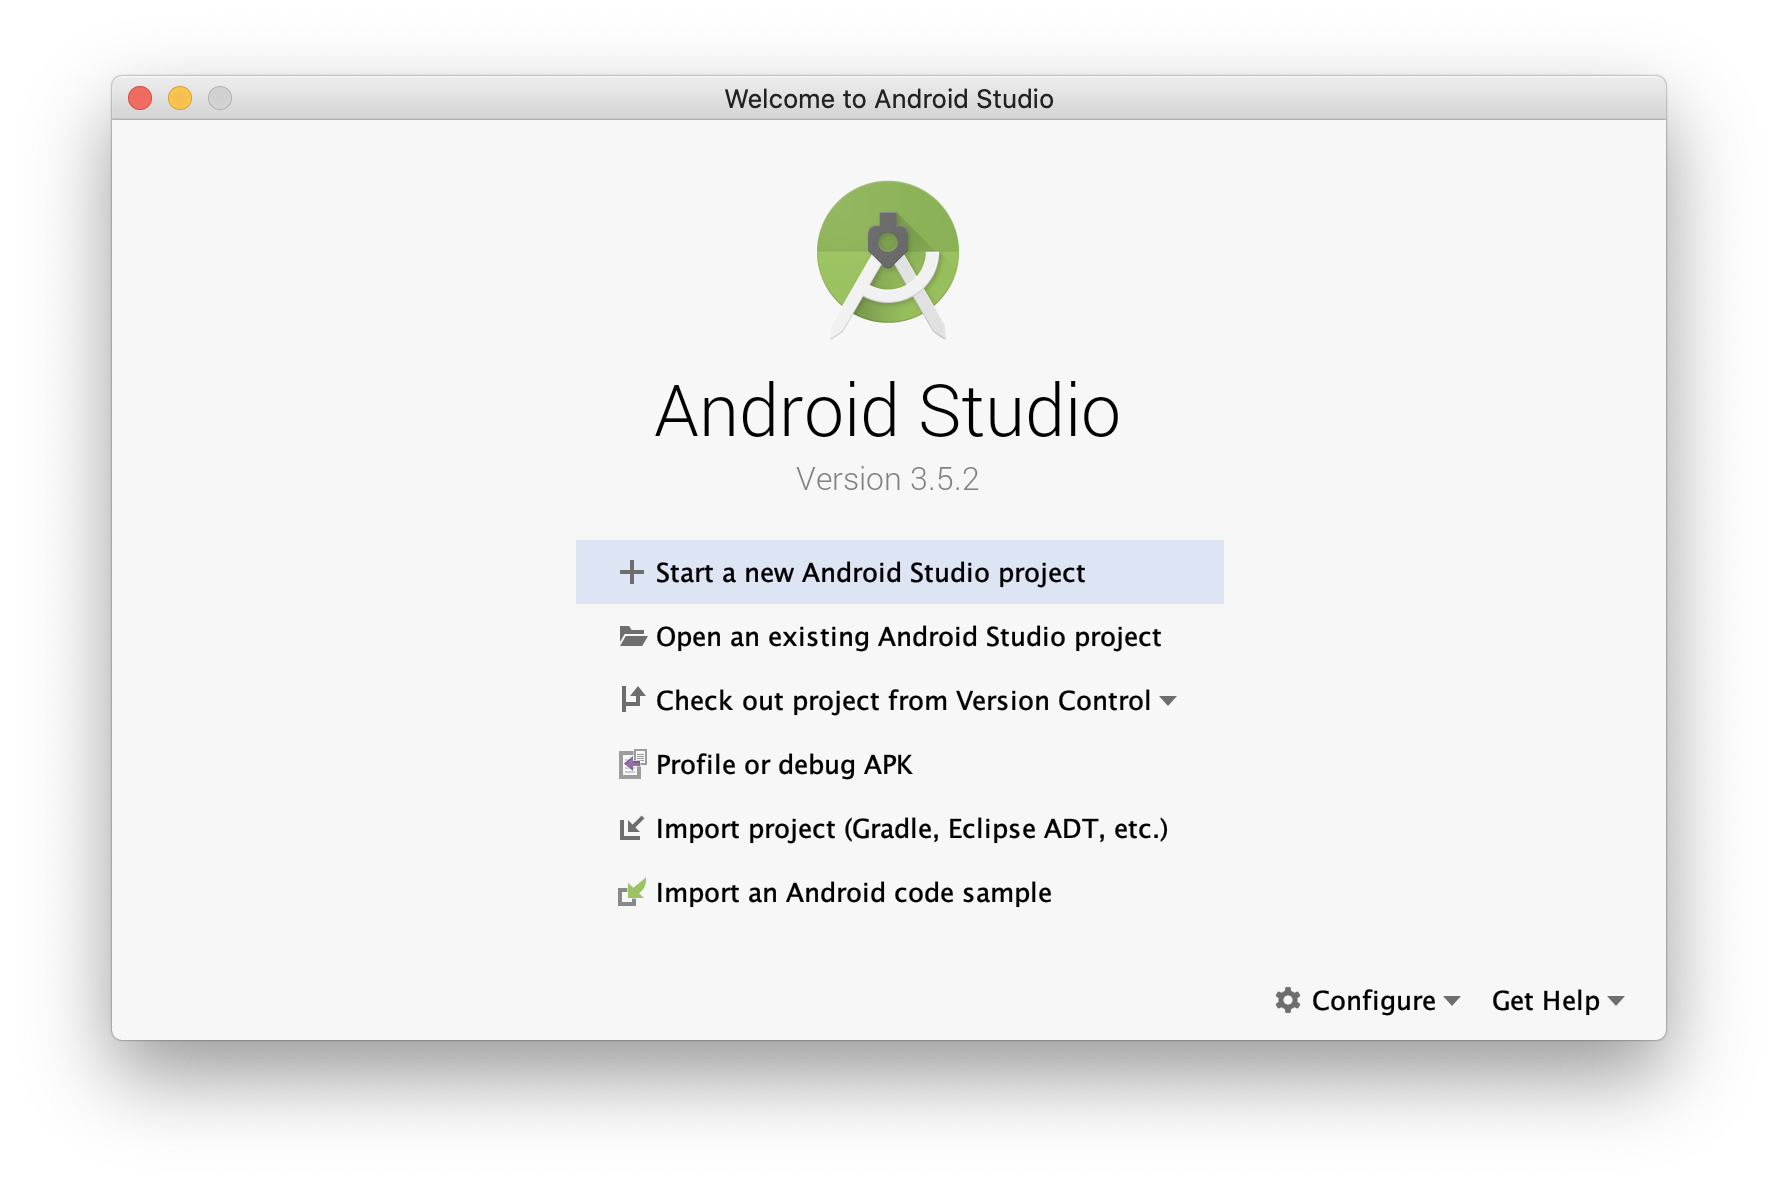
Start Android Studio and create a project.
Select Start a new Android Studio project to create a new project.
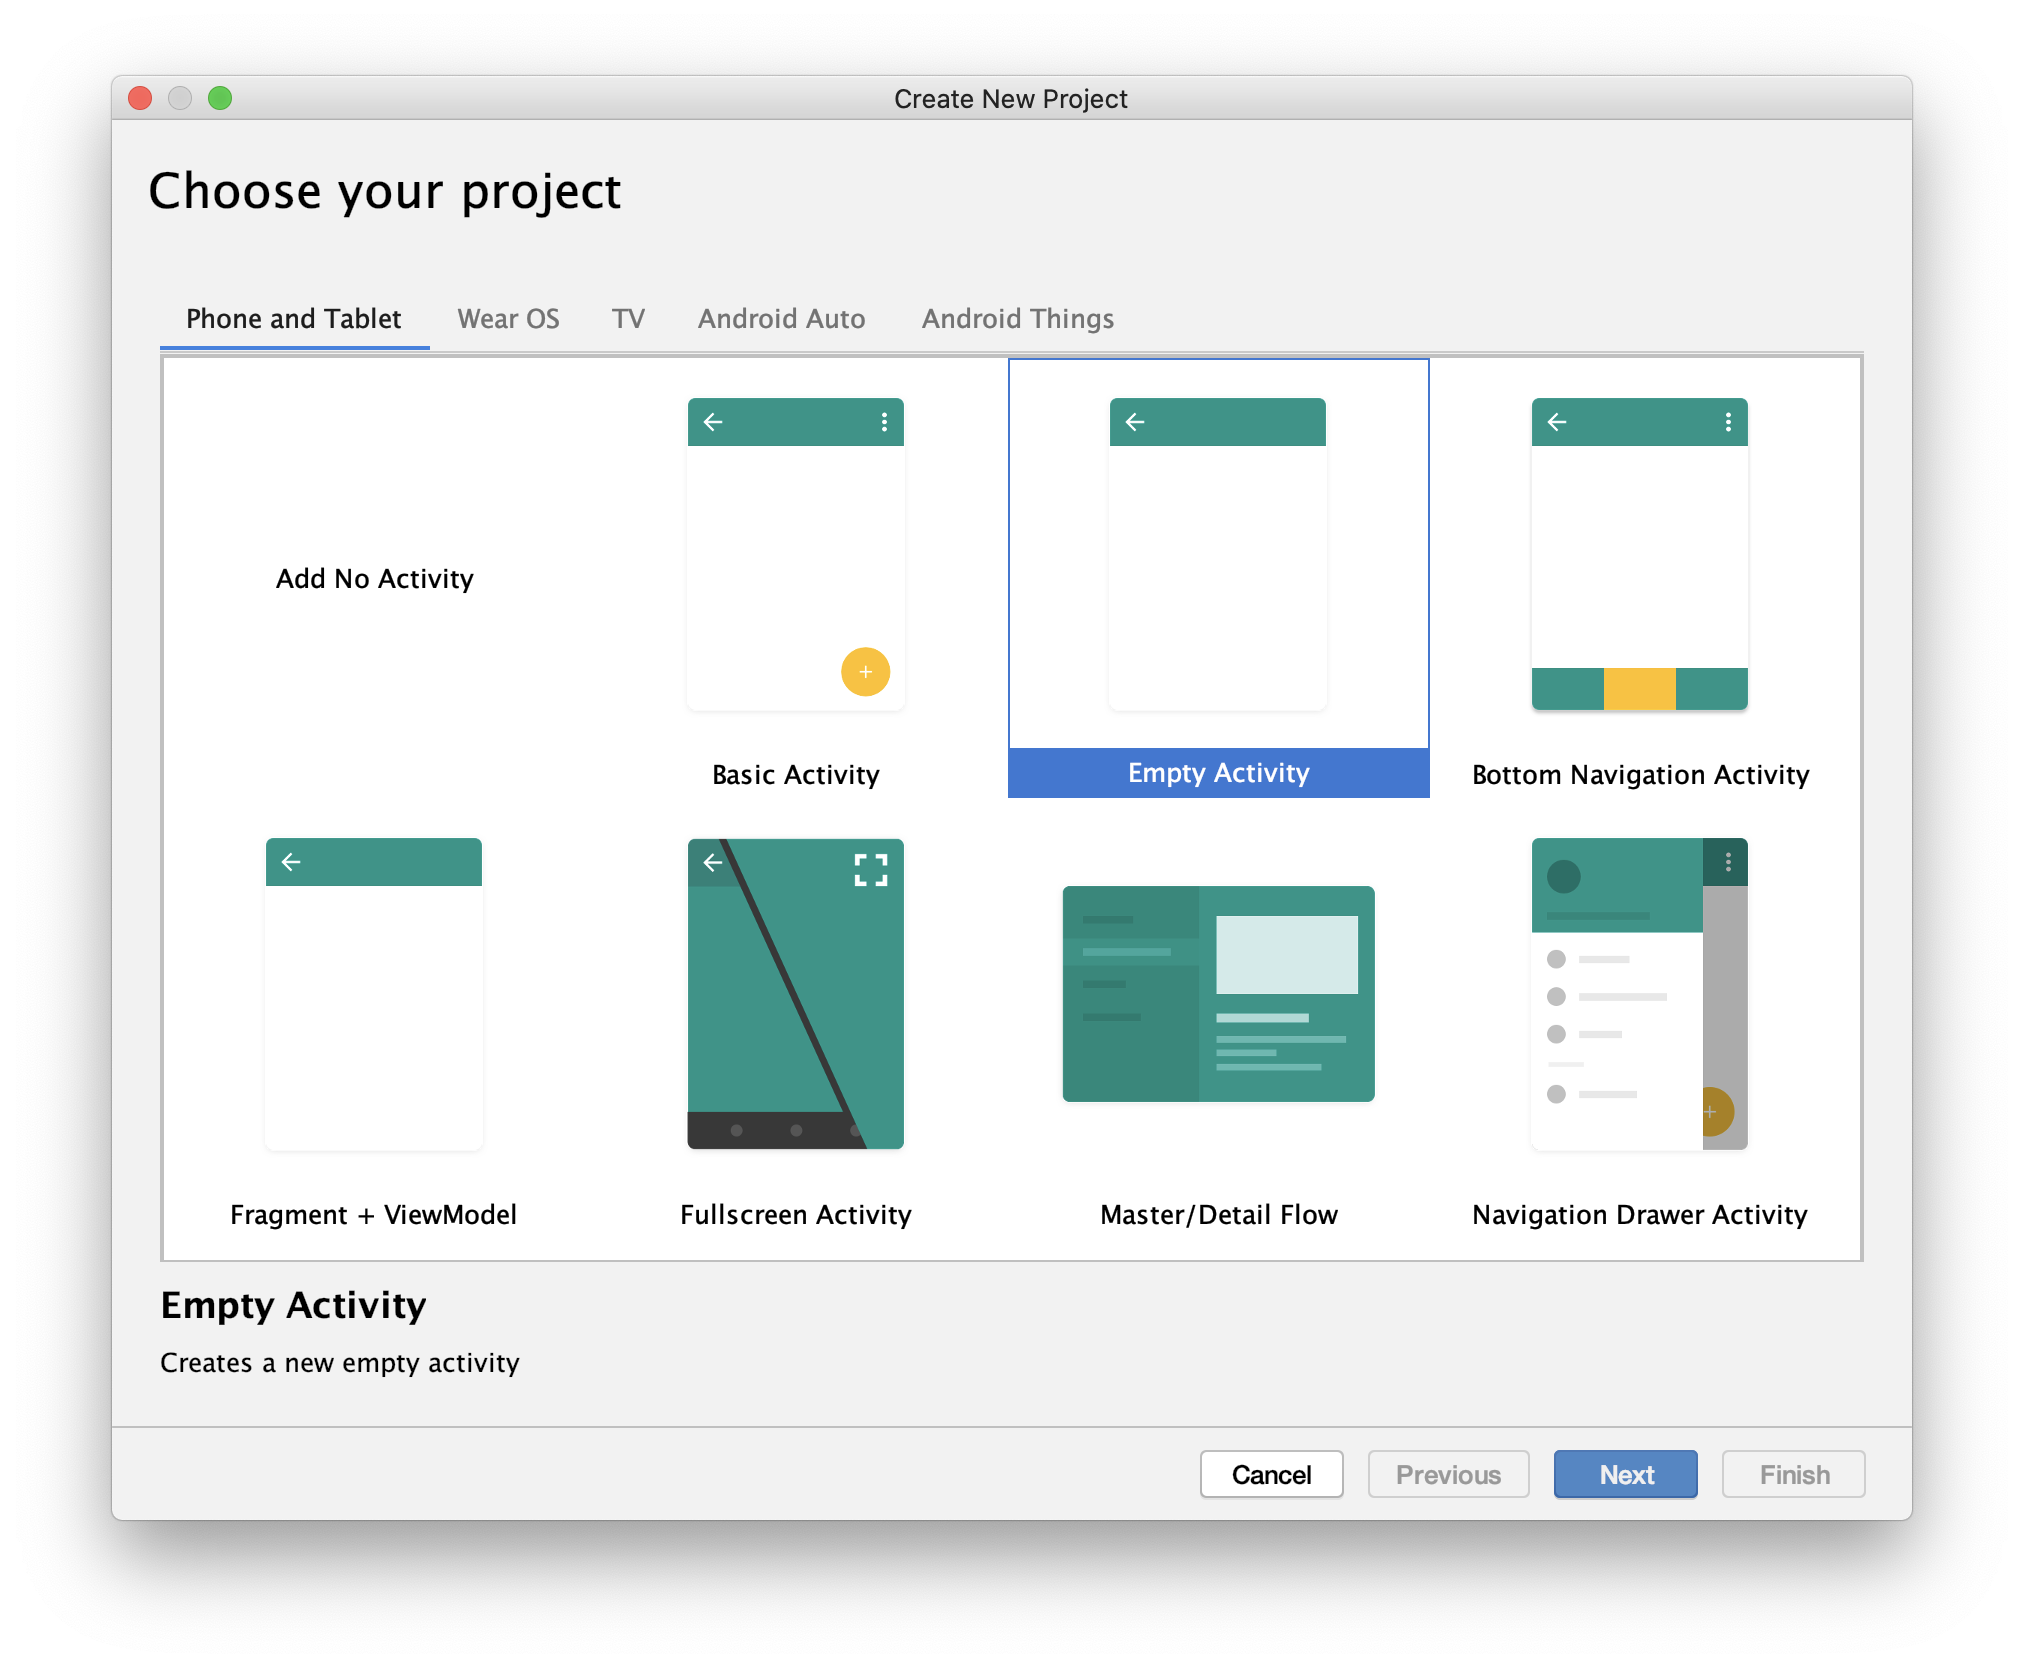
Select the project type.
Select "Empty Activity".
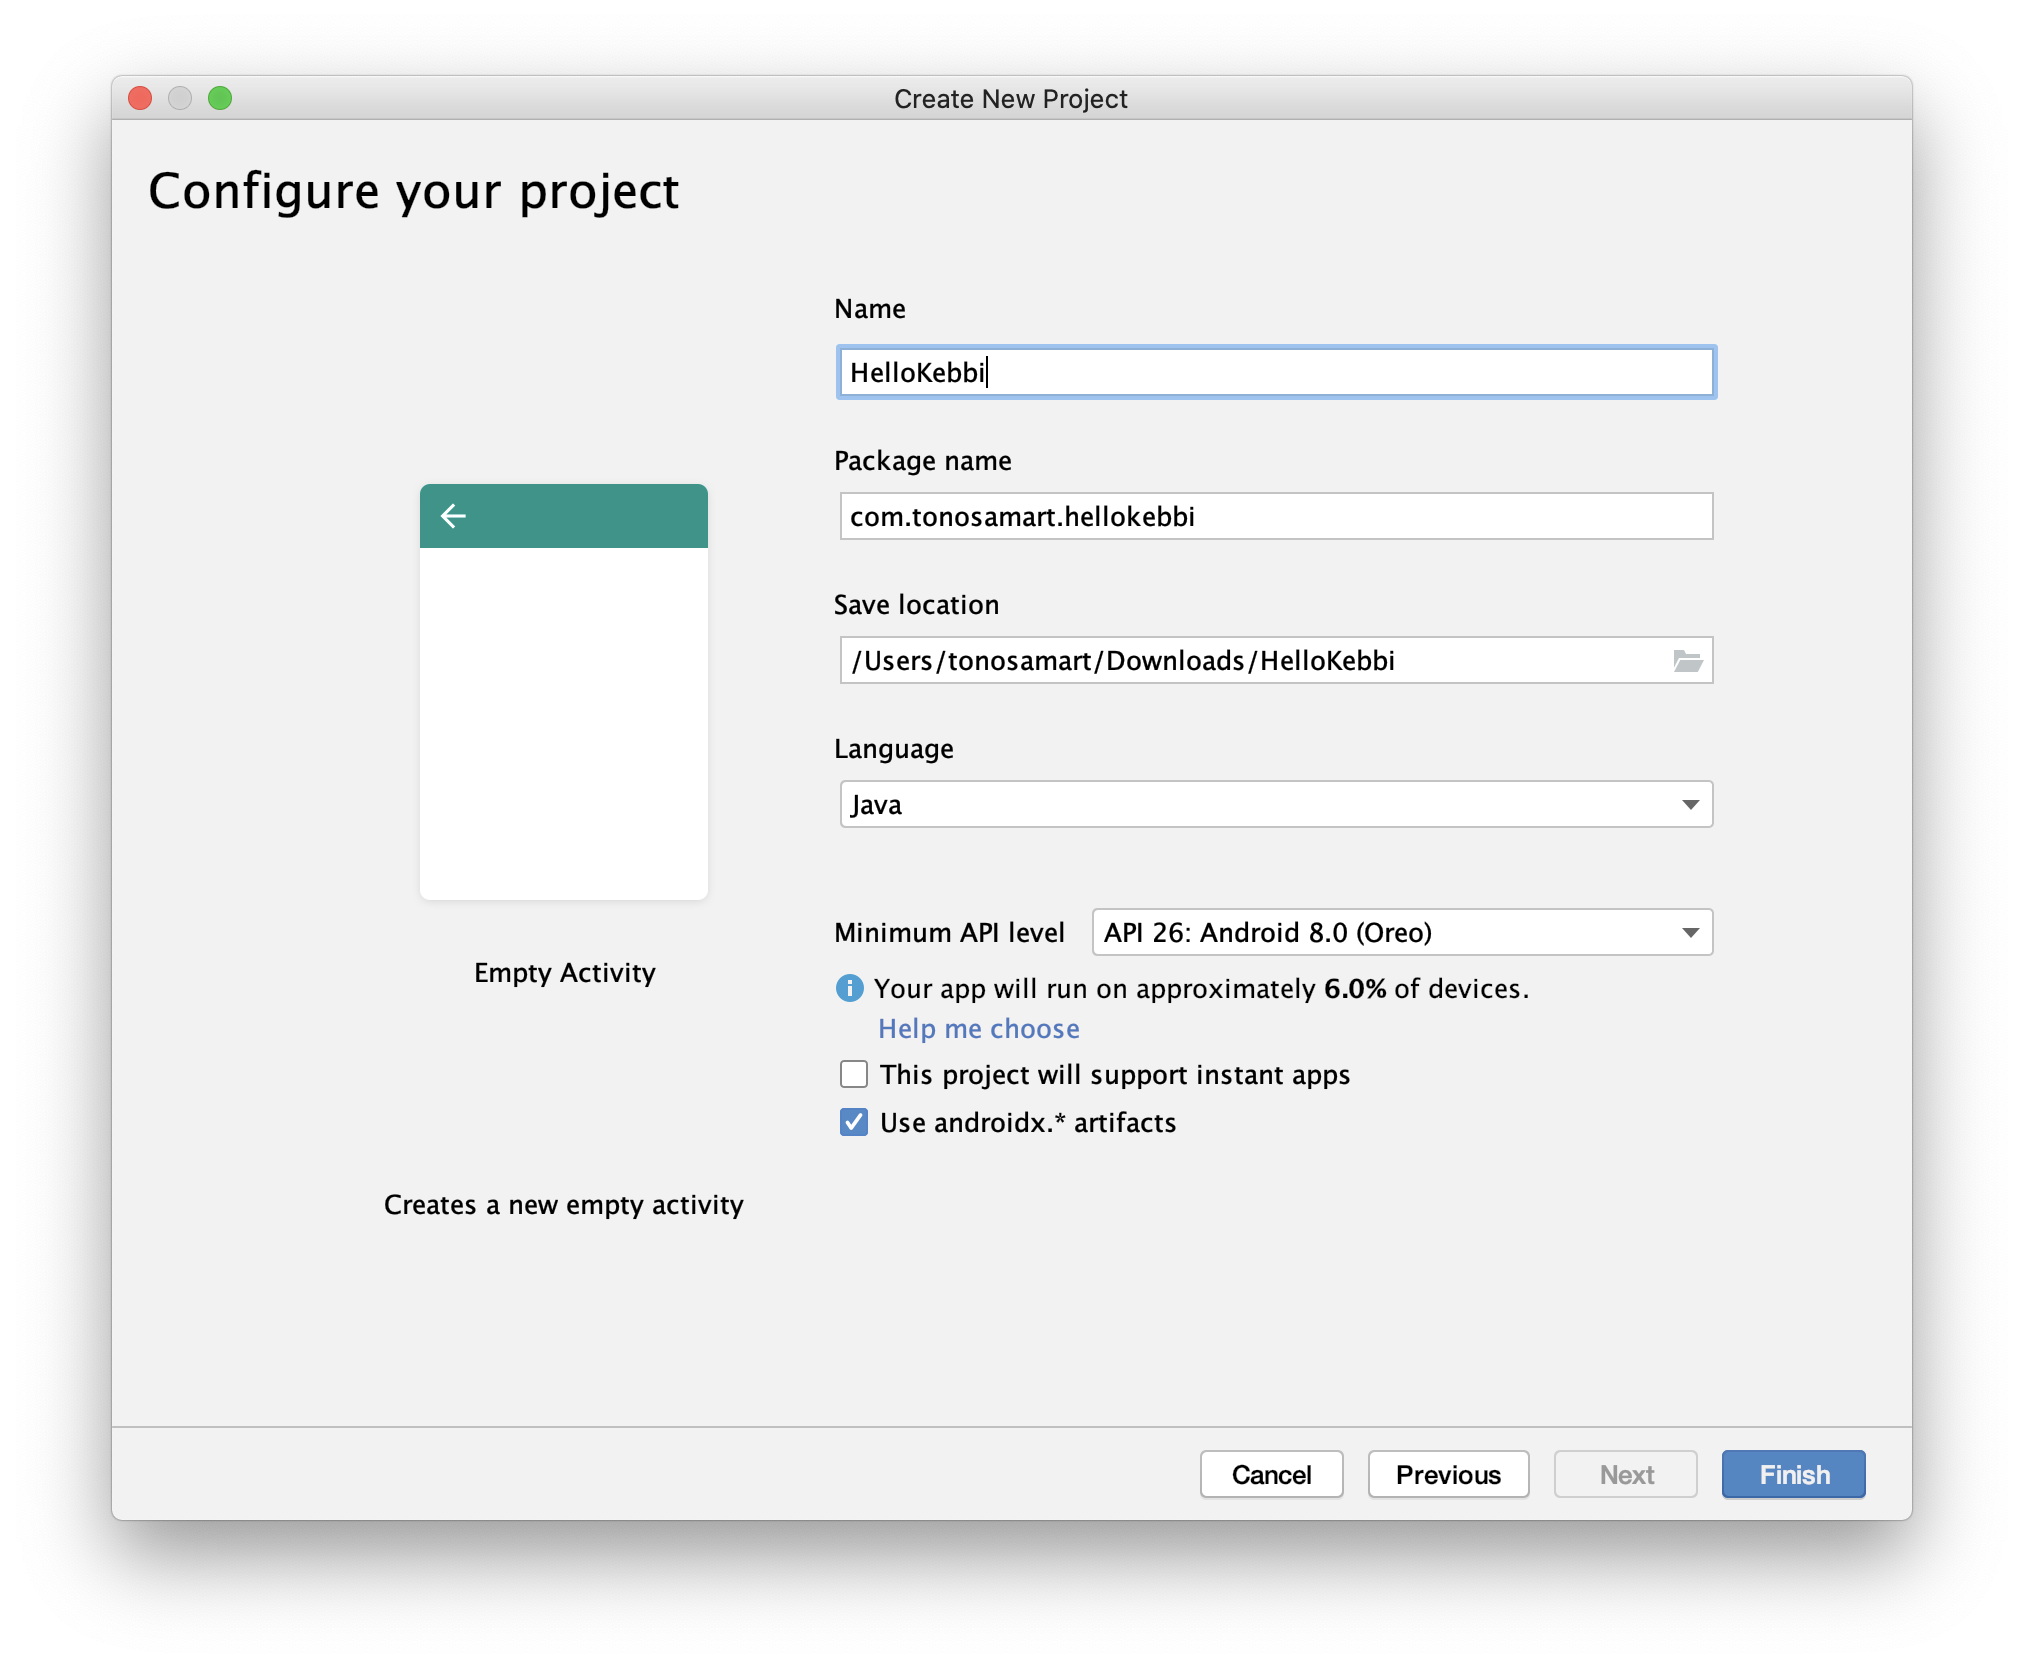
Decide on a project name
This time, I named it "Hello Kebbi".
- Select Java as the language.
- Select "API 26: Android 8.0 (Oreo)" for the Minimum API level.
Library settings
Set the library to use the NUWA Robot API.
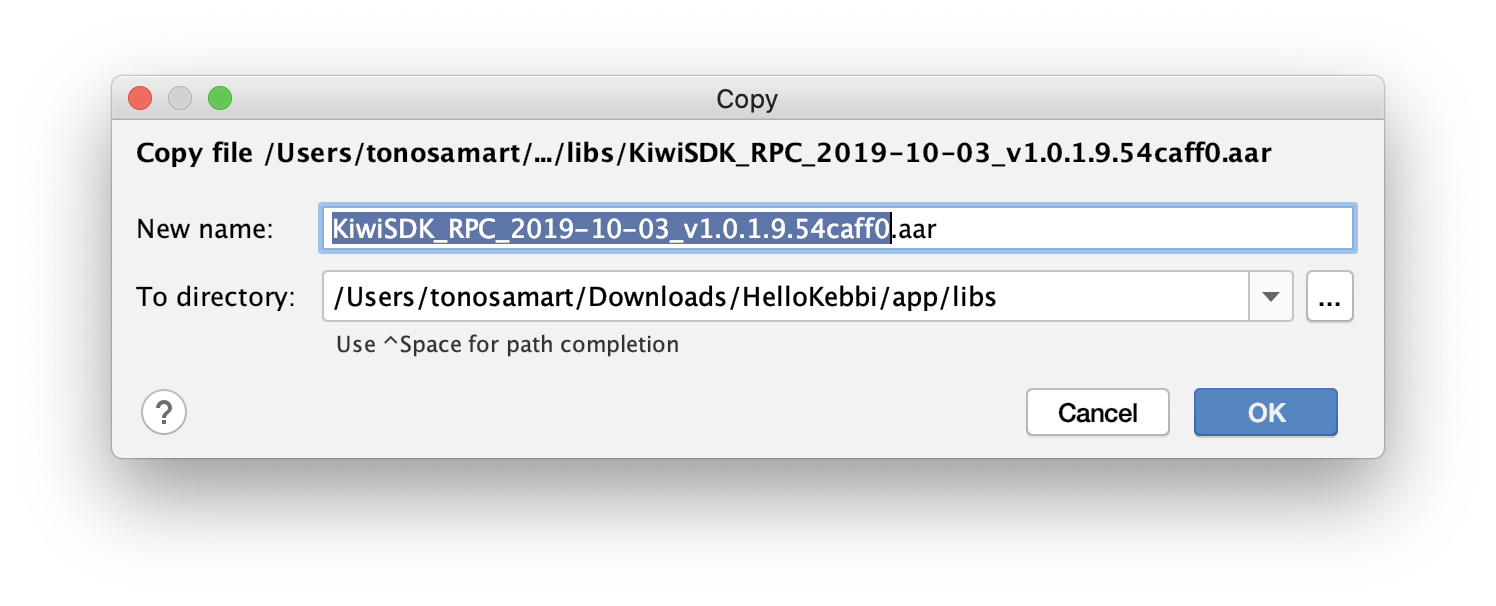
Copy AAR file
First, select "Project" from the menu on the upper left.
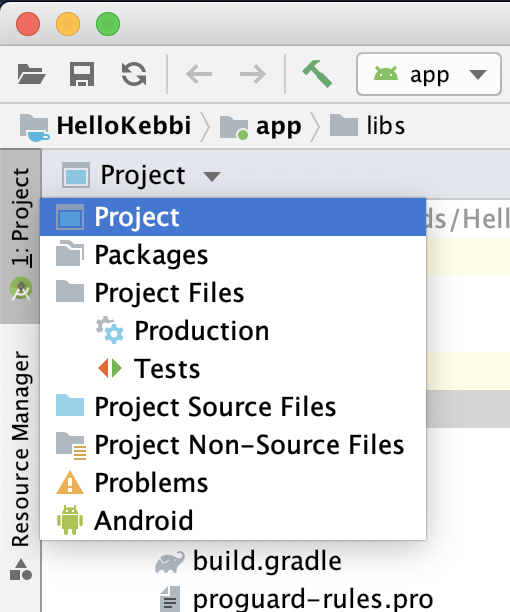
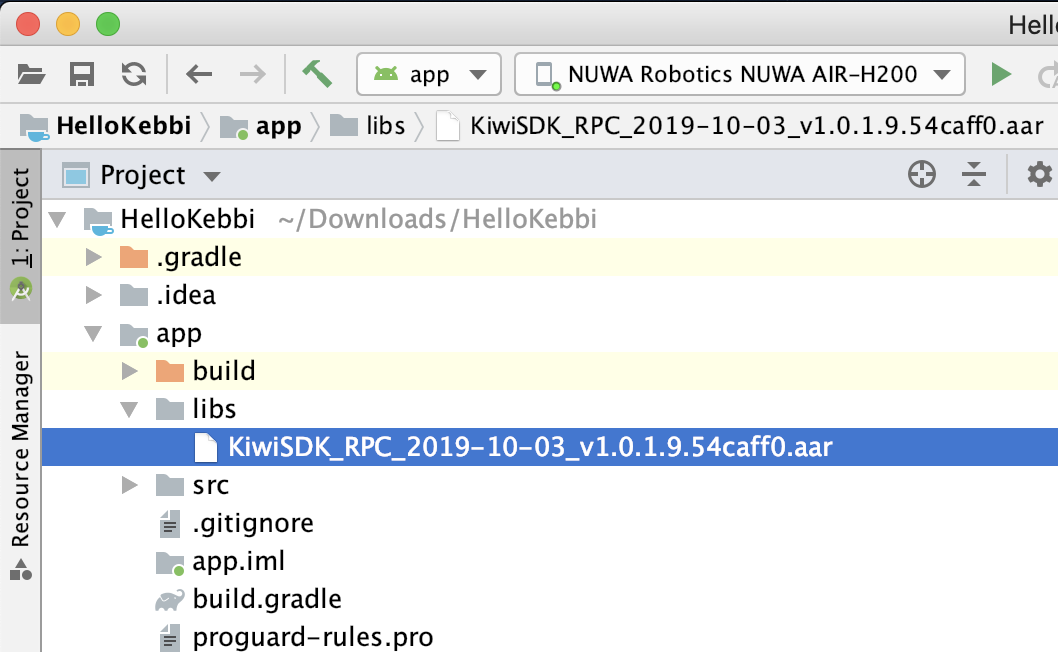
Then copy the latest .aar file of the NUWA SDK to the libs folder inside the app folder.
If the copy is successful, it will look like this.
Add the following description to the very end of "build.gradle" in the app folder.
repositories {flatDir {dirs'libs'}}

Finally, add the following to the end of the dependencies of "build.gradle".
xxxxxxxxxx// include Nuwa Robot SDK in / libsimplementation (name:'KiwiSDK_RPC_2019-10-03_v1.0.1.9.54caff0', ext:'aar')

API initialization
Now let's create a program.
Look for MainActivity.java in the src folder inside the app folder.

Add the following line to AppCompatActivity. (The import for using the NuwaRobot API is automatically added. The same applies below.)
xxxxxxxxxxprivate NuwaRobotAPI mRobot;

Describe the initial processing for using the API in onCreate. Also, prepare a function to handle the event. Rewrite onCreate as follows.
x @Override protected void onCreate (Bundle savedInstanceState) { super.onCreate (savedInstanceState); setContentView (R.layout.activity_main); // init kiwi sdk String your_app_package_name = getPackageName (); IClientId id = new IClientId (your_app_package_name); mRobot = new NuwaRobotAPI (this, id); // register Nuwa Robot Listener registerNuwaRobotListener (); } void registerNuwaRobotListener () { }
Event listener
Next, let's define a listener for events that originate from Kebbi.
Please do not copy and paste the following in the "void register NuwaRobotListener" created earlier.
xxxxxxxxxxmRobot.registerRobotEventListener (new RobotEventListener)
Then, input assistance will appear like this, so select it.

Because there is an error in the closing parenthesis
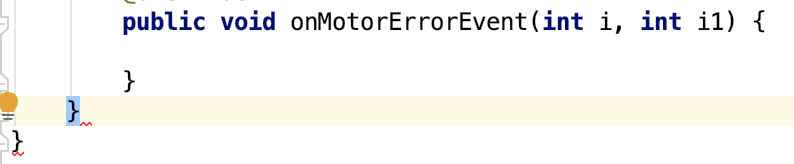
Fix it like this.
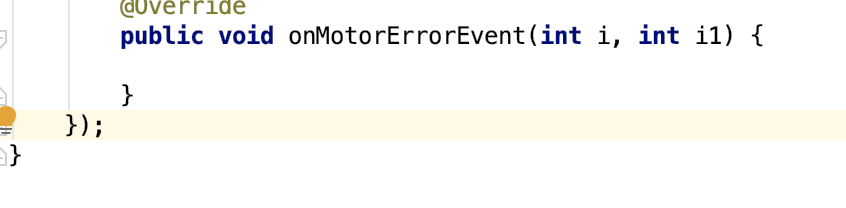
After fixing it, try adding the following programs as well.
xxxxxxxxxxmRobot.registerVoiceEventListener (new VoiceEventListener)
Finally, the registerNuwaRobotListener looks like this: If you are having trouble with input assistance, try copying the following sources.
xxxxxxxxxxvoid registerNuwaRobotListener () {mRobot.registerRobotEventListener (new RobotEventListener () {@Overridepublic void onWikiServiceStart () {}@Overridepublic void onWikiServiceStop () {}@Overridepublic void onWikiServiceCrash () {}@Overridepublic void onWikiServiceRecovery () {}@Overridepublic void onStartOfMotionPlay (String s) {}@Overridepublic void onPauseOfMotionPlay (String s) {}@Overridepublic void onStopOfMotionPlay (String s) {}@Overridepublic void onCompleteOfMotionPlay (String s) {}@Overridepublic void onPlayBackOfMotionPlay (String s) {}@Overridepublic void onErrorOfMotionPlay (int i) {}@Overridepublic void onPrepareMotion (boolean b, String s, float v) {}@Overridepublic void onCameraOfMotionPlay (String s) {}@Overridepublic void onGetCameraPose (float v, float v1, float v2, float v3, float v4, float v5, float v6, float v7, float v8, float v9, float v10, float v11) {}@Overridepublic void onTouchEvent (int i, int i1) {}@Overridepublic void onPIREvent (int i) {}@Overridepublic void onTap (int i) {}@Overridepublic void onLongPress (int i) {}@Overridepublic void onWindowSurfaceReady () {}@Overridepublic void onWindowSurfaceDestroy () {}@Overridepublic void onTouchEyes (int i, int i1) {}@Overridepublic void onRawTouch (int i, int i1, int i2) {}@Overridepublic void onFaceSpeaker (float v) {}@Overridepublic void onActionEvent (int i, int i1) {}@Overridepublic void onDropSensorEvent (int i) {}@Overridepublic void onMotorErrorEvent (int i, int i1) {}});mRobot.registerVoiceEventListener (new VoiceEventListener () {@Overridepublic void onWakeup (boolean b, String s, float v) {}@Overridepublic void onTTSComplete (boolean b) {}@Overridepublic void onSpeechRecognizeComplete (boolean b, ResultType resultType, String s) {}@Overridepublic void onSpeech2TextComplete (boolean b, String s) {}@Overridepublic void onMixUnderstandComplete (boolean b, ResultType resultType, String s) {}@Overridepublic void onSpeechState (ListenType listenType, SpeechState speechState) {}@Overridepublic void onSpeakState (SpeakType speakType, SpeakState speakState) {}@Overridepublic void onGrammarState (boolean b, String s) {}@Overridepublic void onListenVolumeChanged (ListenType listenType, int i) {}@Overridepublic void onHotwordChange (HotwordState hotwordState, HotwordType hotwordType, String s) {}});}
The program is now ready!
Hello! Kebbi!
Thank you for waiting! Let Kebbi speak. From the event listeners you added earlier, find onWikiServiceStart and modify it as follows. This event is an event that will be called after the API has been initialized.
xxxxxxxxxx@Overridepublic void onWikiServiceStart() {Log.d("KEBBI", "onWikiServiceStart");mRobot.startTTS("Hello, I'm Kebbi.");}
Finally, let's log one more thing to the event listener.
xxxxxxxxxx@Overridepublic void onTTSComplete (boolean b) {Log.d ("KEBBI", "onTTSComplete:" + b);}
onTTSComplete is an event that is called when Kebbi's utterance is over. This is useful if you want Kebbi to speak and move continuously. This is the first time, so let's check the log.
Let's run the program!
Now let's run the program. If Kebbi is connected to your computer, Kebbi should be displayed in the upper left corner of the model name. Press the play button and the program will run!

How is it? Did Kebbi talk to you? By the way, let's check the log as well. It is convenient to enter "KEBBI" in the log search because unnecessary logs will not be displayed.

Exit the app
To close the app, press the stop button in Android Studio. Even if you press the button on Kebbi's head, it looks like it's finished, but the app is actually working.

The run app will be automatically added to Kebbi's menu. From the next time onwards, you can also start the app from here.
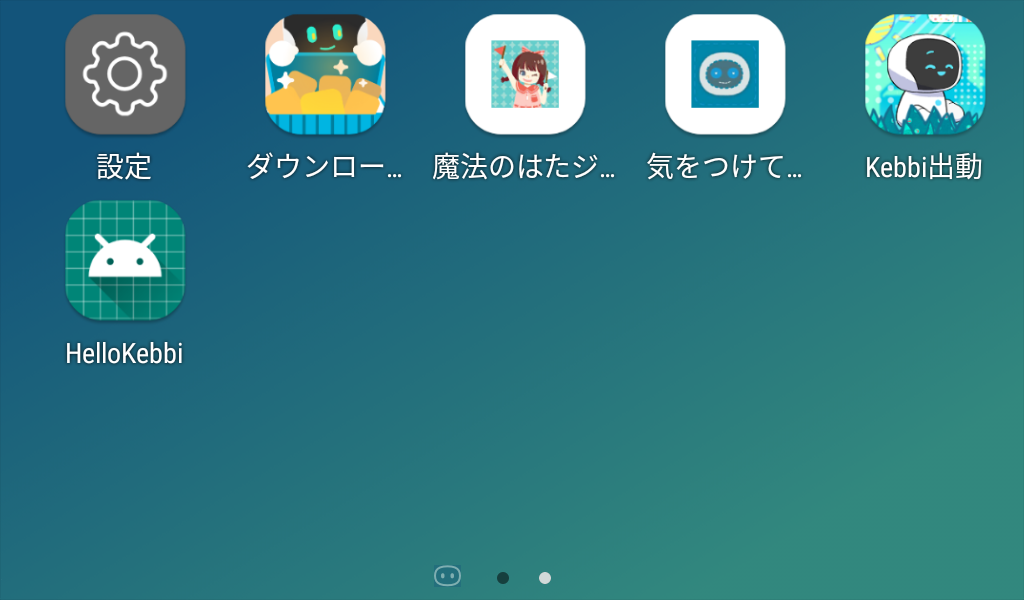
Just like any other app, you can specify the program name or change the icon to a nice one, and you will have your own original app!
Tutorial completed!
Thank you for your support, this completes the tutorial. I hope you understand the basic flow of creating a Kebbi app. However, there are still many things I would like to try, right?
First of all
[NUWA Robot SDK Manual] NUWA Developer
Let's read. This document is a complete introduction to how to use the API to create Kebby apps. Also, sample programs etc. are published on the official website, so please refer to them.
For example ...
- Control Kebbi's LED
- Try using voice recognition
- Make Kebbi do various actions
- Move Kebbi
There are some simple example for your reference.
[NUWA SDK Example Github] Sample Code
You will be able to do such things!